Spider Plant Babies: When to Cut and 3 Ways to Root Them
Spider plant babies are ready to cut when they have small root nubs at their base and a few leaves about 2 inches long. Snip them off, then root them in water, plant them straight into moist potting mix, or pin them into soil while they are still attached to the mother plant. All three methods work well, and most babies show new root growth within a couple of weeks.
Below I walk you through how to tell when a spider plant baby is ready, exactly where to cut, the step-by-step for each rooting method, and how to look after your new plants for their first month so they actually take off.
What are spider plant babies?
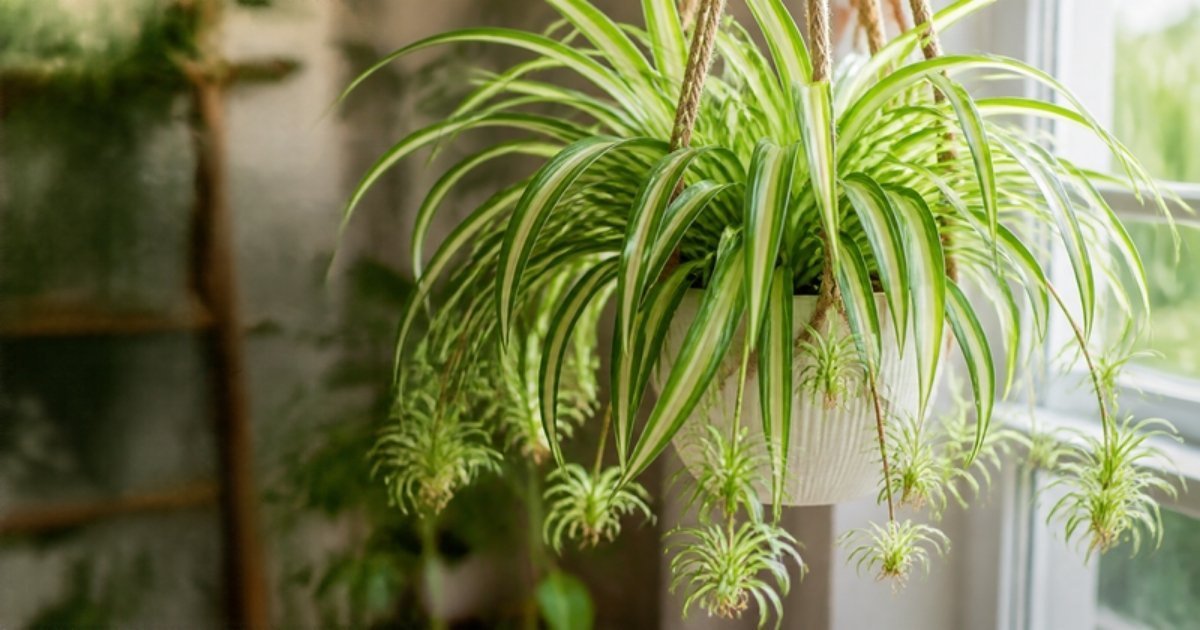
Spider plant babies (also called plantlets, pups or spiderettes) are small clones of the mother plant that grow at the ends of long, arching stems called runners or stolons. A mature spider plant usually sends out a runner, produces a few tiny white flowers on it, and then forms little rosettes of leaves where those flowers were. Each rosette is a complete plant in miniature, which is why spider plants are one of the easiest houseplants to multiply.
Plantlet production is linked to day length. According to NC State Extension, spider plants form plantlets after a few weeks of shorter days, with less than about 12 hours of light and long, uninterrupted nights. The same source notes that heavy feeding can actually reduce plantlet formation. So if your plant is not making babies, it may be too young, getting light around the clock from lamps, or being fertilized too much.
When are spider plant babies ready to cut?
The best time to cut a spider plant baby is when it is starting to look like a tiny plant of its own. Look for these signs:
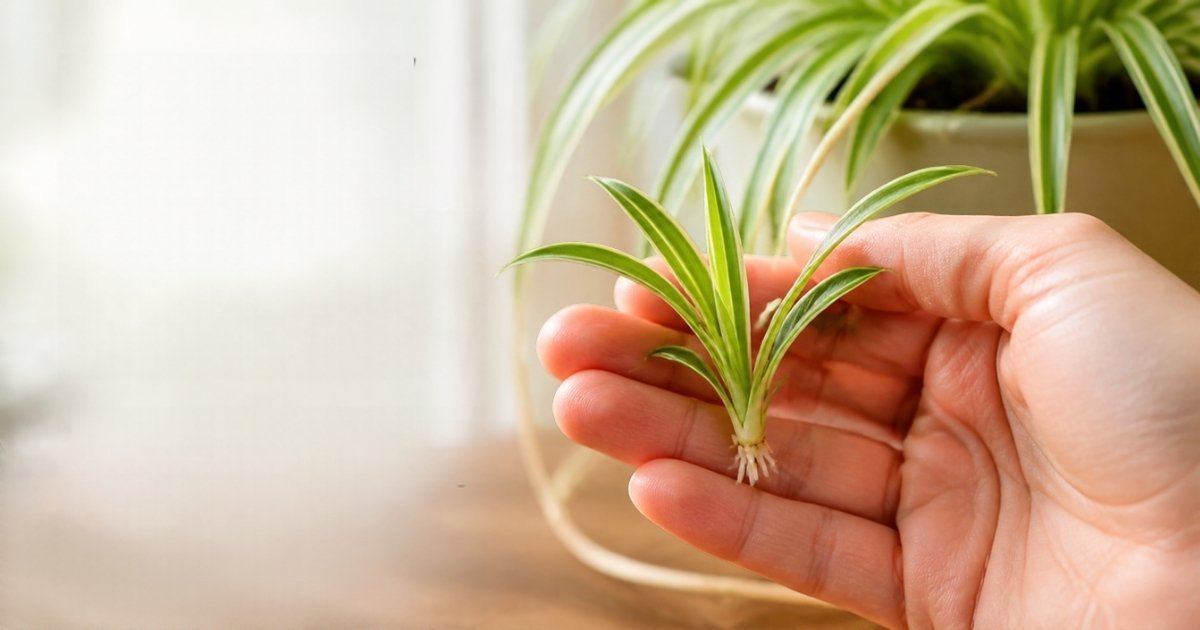
- Root nubs are visible. Flip the baby over and check its base. Small white or tan knobs, or short roots, mean it is ready to grow on its own.
- Leaves are around 2 inches long or more. Babies with several leaves have more energy stored and root faster.
- The rosette feels firm. A plump, solid base is a good sign. Very soft or tiny babies are better left on the runner a bit longer.
You can root babies that have no visible nubs yet, but they take longer and fail more often. If you have a choice, wait a week or two and let them develop on the mother plant first.
Where to cut a spider plant baby
Use clean, sharp scissors or pruners and cut the runner about half an inch to an inch above the baby, on the side closest to the mother plant. Leaving a short stub of runner gives you something to hold and does not hurt the baby. If the runner has no more babies on it, you can trim it back to the base of the mother plant to tidy things up.
How to propagate spider plant babies: 3 methods compared
Here is a quick comparison of the three ways to root spider plant babies so you can pick the one that suits you.
| Method | Best for | Typical time to visible new roots | Pros | Cons |
|---|---|---|---|---|
| Water | Beginners who like to watch roots grow | About 1 to 2 weeks | Easy to check progress, very low effort | Roots must adjust again when moved to soil |
| Straight into soil | Babies that already have root nubs | About 1 to 3 weeks (hidden) | No transplant shock later | You cannot see roots, easy to overwater |
| Attached to mother | Small babies or anyone wanting a sure thing | About 2 to 4 weeks before cutting | Most reliable, mother feeds the baby | Needs a spare pot placed next to the plant |
These are general ranges, not guarantees. Warmth, light and the size of the baby all change how fast roots grow.
Method 1: Spider plant propagation in water
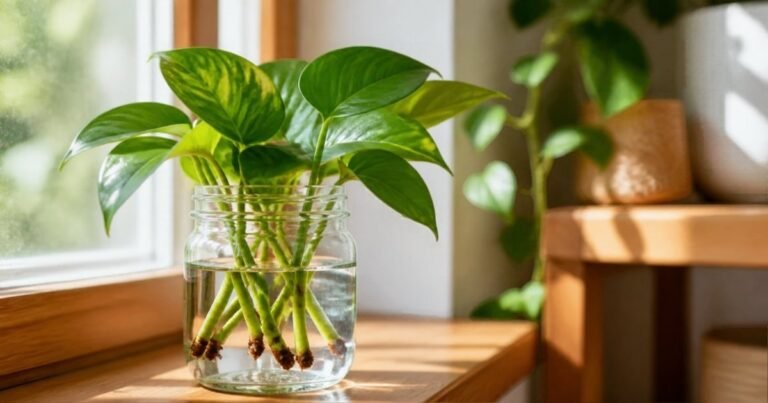
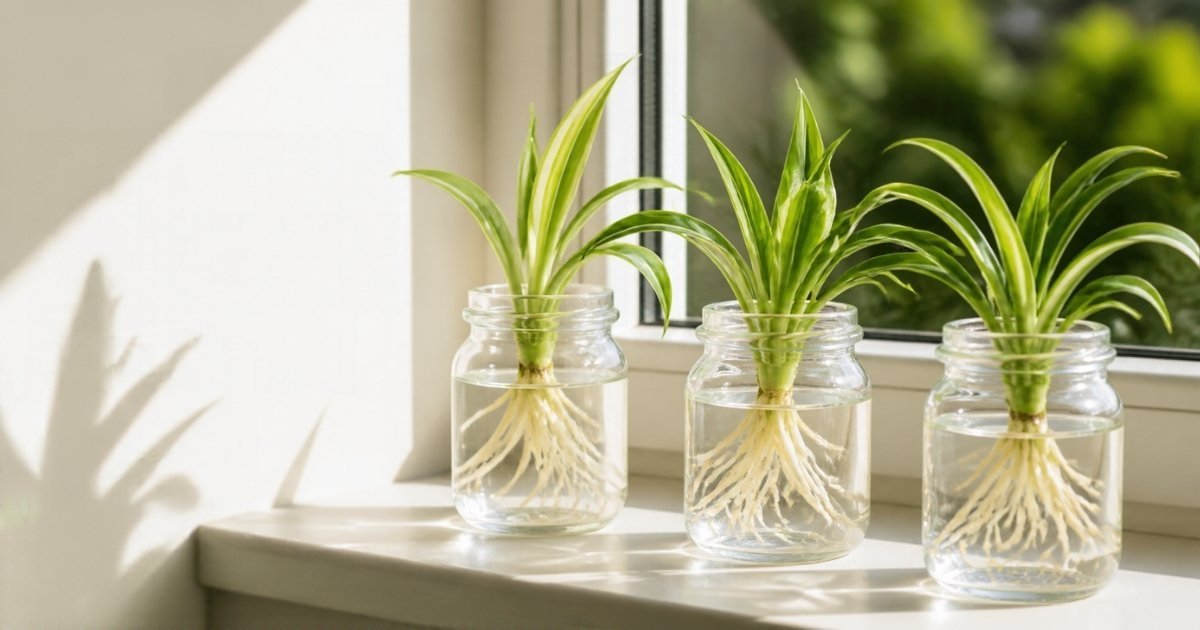
Spider plant propagation in water is the most popular method because you can watch the roots form. A small glass, jar or a propagation station with test tubes works well.
- Fill a small glass or jar with room temperature water. Filtered water or rainwater is a good choice, since chlorine and fluoride in tap water can cause leaf tip burn on spider plants.
- Set the baby on top so only its base and root nubs sit in the water. Keep the leaves above the waterline or they will rot.
- Place the jar in bright, indirect light, such as a few feet from an east or west window.
- Top up the water as it evaporates and replace it completely about once a week, or sooner if it turns cloudy.
- Move the baby to soil once its roots are about 1 to 2 inches long. Waiting much longer makes the switch to soil harder, because water roots are more delicate.
If you have propagated other plants in water before, the process will feel familiar. My guide on how to propagate pothos uses the same jar setup, though pothos cuttings need a node rather than a ready-made baby.
Method 2: Plant babies straight into soil
Babies that already have root nubs can go directly into soil, and many growers prefer this because the roots never have to adapt from water to soil.
- Fill a small pot, around 3 to 4 inches wide with a drainage hole, with a light, well-draining houseplant potting mix.
- Water the mix so it is evenly damp but not soggy, and let any extra drain away.
- Make a shallow hole and set the baby in so its base and nubs are about half an inch deep. Keep the leaves above the soil.
- Firm the mix gently around the base so the baby stands up on its own.
- Keep the soil lightly moist for the first two to three weeks while roots form, then start letting the top inch dry out between waterings.
You can plant several babies in one larger pot if you want a fuller plant sooner. Space them a couple of inches apart.
Method 3: Root babies while still attached
This is the most reliable way to propagate a spider plant, especially for small babies without much root development. The mother plant keeps feeding the baby through the runner until it has roots of its own.
- Fill a small pot with damp potting mix and place it next to the mother plant.
- Without cutting the runner, set a baby on top of the soil in the new pot.
- Pin it in place with a bent paper clip or a small U-shaped piece of wire over the runner, so the base stays in contact with the soil.
- Keep the soil lightly moist. After a few weeks, give the baby a very gentle tug. If it resists, it has rooted.
- Snip the runner between the mother plant and the baby. Your new plant is now independent.
Caring for new spider plants in the first 4 weeks
The first month is when most new spider plants either settle in or struggle. Use this simple plan:
| Week | What is happening | What to do |
|---|---|---|
| Week 1 | Roots are starting to form or recover from the move | Bright, indirect light. Keep soil lightly moist. No fertilizer. |
| Week 2 | Fine new roots are growing | Check moisture every couple of days. Water when the surface starts to feel dry. |
| Week 3 | First new leaf may appear in the center | Start letting the top inch of soil dry between waterings. |
| Week 4 | Plant is establishing | Treat it like a normal spider plant. A light, diluted feed is fine once it is clearly growing. |
Clemson Cooperative Extension recommends bright indirect light and daytime temperatures of roughly 65 to 75°F for spider plants, which suits young babies too. Keep them out of strong midday sun, which can scorch the leaves, and away from cold drafts in winter.
For more beginner care guides, browse the houseplant care section.
Common mistakes when propagating spider plants
- Submerging the leaves in water. Only the base belongs in the water. Wet leaves rot quickly and the rot spreads into the crown.
- Using a pot that is too big. A small baby in a large pot sits in wet soil for days. Start small and pot up once roots fill the container.
- Overwatering soil babies. Moist is good, soggy is not. If the base turns brown and mushy, the roots are rotting. My guide to fixing root rot in indoor plants explains how to spot and treat it.
- Cutting babies too early. Tiny babies with no nubs often fail. Leave them on the runner or use the attached method.
- Fertilizing too soon. Feeding a baby with no real roots can burn it. Wait until you see steady new growth.
- Ignoring brown tips. A little browning is common. It is often linked to salts from fertilizer or minerals in tap water, so flush the soil occasionally and consider filtered water.
Troubleshooting slow or failing babies
| Problem | Likely cause | Fix |
|---|---|---|
| No roots after 3 weeks in water | Baby too small, cool room or low light | Move to a warmer, brighter spot or switch to the attached method |
| Base turning brown and mushy | Rot from too much water or leaves in water | Cut away the soft part, refresh the water or let soil dry a little more |
| Leaves wilting after moving to soil | Transplant stress, water roots adjusting | Keep soil evenly moist for a week or two and avoid direct sun |
| Yellowing leaves | Overwatering or poor drainage | Check the pot has a drainage hole and water less often |
| Crispy brown tips | Salts, fluoride or dry soil | Use filtered water, flush the soil and avoid letting it dry out completely |
Are spider plants safe for cats and dogs?
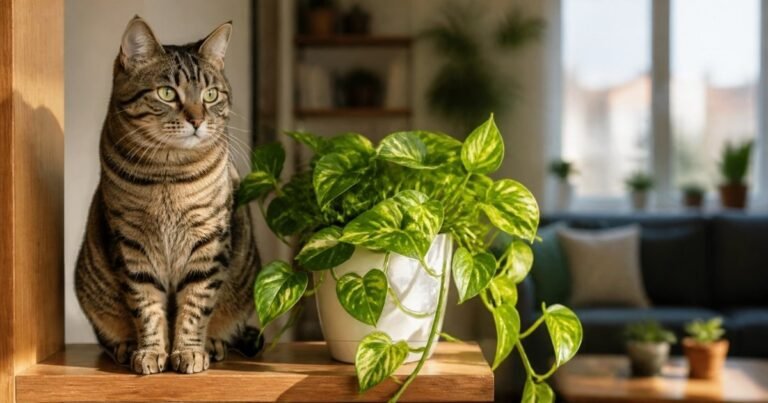
Yes. The ASPCA lists spider plants as non-toxic to cats and dogs, which is one reason they make such good gifts for pet owners. That said, cats love to chew the dangling babies, and eating a lot of any plant can upset a pet’s stomach. Hanging the mother plant out of reach protects both your cat and your future babies. If you are choosing plants for a home with pets, compare this with my guide on whether pothos are toxic to cats, since pothos is not pet safe.
What to do with extra spider plant babies
One healthy spider plant can produce a lot of babies, so you may end up with more than you need. A few easy ideas:
- Plant several babies in one hanging basket for a fuller display.
- Give potted babies to friends, neighbors or coworkers.
- Swap them at a local plant swap for something new.
- Keep one or two as backups in case something happens to the mother plant.
Small 3 to 4 inch nursery pots and a simple propagation station make it easy to keep a few babies going at once without taking over your windowsill.
Spider plant babies FAQ
Can you put spider plant babies straight into soil?
Yes. Babies with visible root nubs root well when planted directly into damp, well-draining potting mix. Keep the soil lightly moist for the first few weeks, and avoid burying the leaves.
How long do spider plant babies take to root in water?
Most babies show new root growth within about one to two weeks in water, depending on warmth, light and how developed the root nubs were. Move them to soil once the roots are around 1 to 2 inches long.
Is it OK to leave the babies on a spider plant?
Yes. Leaving babies attached does not harm a healthy mother plant, and many people like the trailing look. If the mother starts looking tired or pale, removing some babies lets it put more energy into its own leaves.
Can you propagate a spider plant baby without roots?
You can, but it is slower and less reliable. Give rootless babies extra time in water, or use the attached method so the mother plant keeps feeding them until roots form.
Why is my spider plant not producing babies?
Common reasons are that the plant is still young, it gets light for too many hours a day (including lamps at night), or it is being fertilized heavily. Mature, slightly pot-bound plants with natural day and night cycles tend to produce the most babies.
Should I cut off the runner after removing the babies?
If the runner has no more babies or flowers on it, trimming it back to the base keeps the plant tidy. If it still has developing babies, leave it in place so they can keep growing.