How to Fix Root Rot in Indoor Plants (Step-by-Step Rescue Guide)
Root rot is every indoor plant parent’s nightmare. You water your favorite houseplant, give it plenty of love, and suddenly the leaves turn yellow. The stems start drooping. You might even notice a strange, swampy smell coming from the soil. But do not panic. While root rot sounds like a death sentence for your greenery, you can often save your plant if you act quickly.
This guide will walk you through exactly how to fix root rot in indoor plants. We will help you identify the problem, treat the infection, and set up a solid prevention plan so your plants can thrive again. Grab your gardening gloves, take a deep breath, and let us get your plant back on the path to health.
What Root Rot Actually Looks Like
Root rot happens when plant roots sit in waterlogged soil for too long. The roots suffocate from a lack of oxygen, die, and begin to decay. Fungi that naturally live in the soil then multiply rapidly, feeding on the weak roots and spreading the infection.
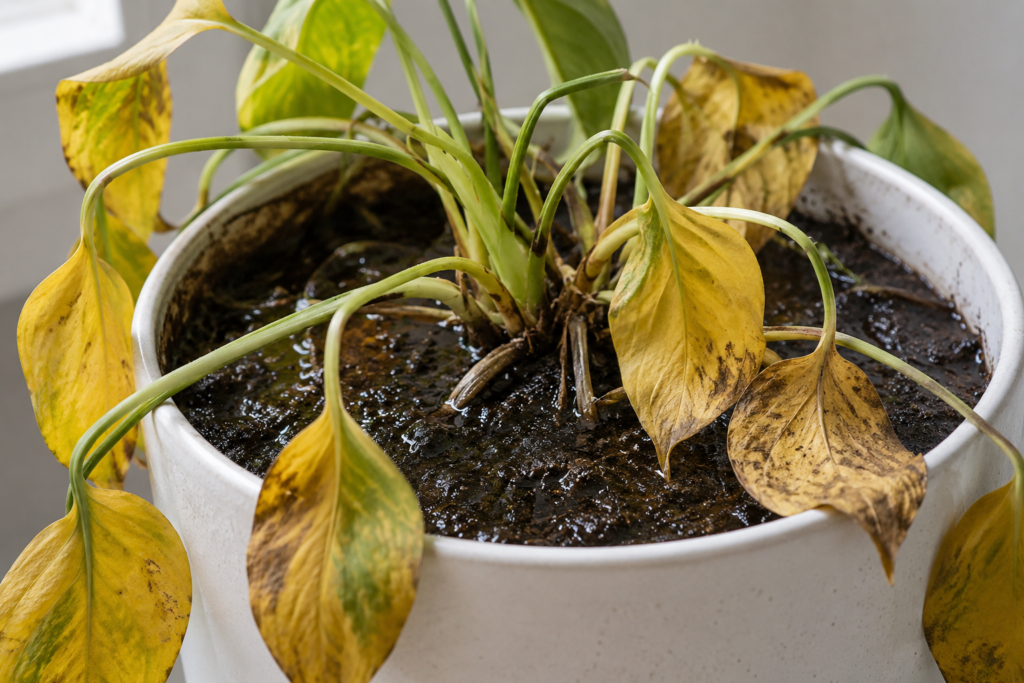
Because the damage happens beneath the soil, root rot often goes unnoticed until the plant shows visible distress above ground. You might see the foliage rapidly turning yellow or brown. The leaves often feel soft and mushy, unlike the crispy brown edges caused by underwatering. Stems may become weak, bending over the edge of the pot.
Another major warning sign is a foul odor. Healthy soil smells earthy and fresh. Soil suffering from root rot smells like rotten eggs or stagnant water. If your plant looks sad and the soil stays wet for weeks without drying out, root rot is the most likely culprit.
How to Confirm Root Rot (The Unpot Test)
You cannot diagnose root rot simply by looking at the leaves. You must look at the root system. To confirm your suspicions, you need to perform the unpot test.
Lay down some newspaper or take your plant outside. Place your hand over the top of the soil, supporting the main stem between your fingers. Turn the pot sideways and gently slide the plant out. If the plant feels stuck, tap the sides of the pot to loosen the soil. Never yank the plant by its stem, as this can snap the fragile top growth.
Once the plant is out, inspect the roots. Healthy plant roots usually look firm and white, tan, or light yellow. They hold their shape when you touch them. Rotted roots look dark brown or black. When you touch them, they feel slimy and mushy, often falling apart or slipping off the central root string completely. If you see dark, mushy roots, you have a confirmed case of root rot.
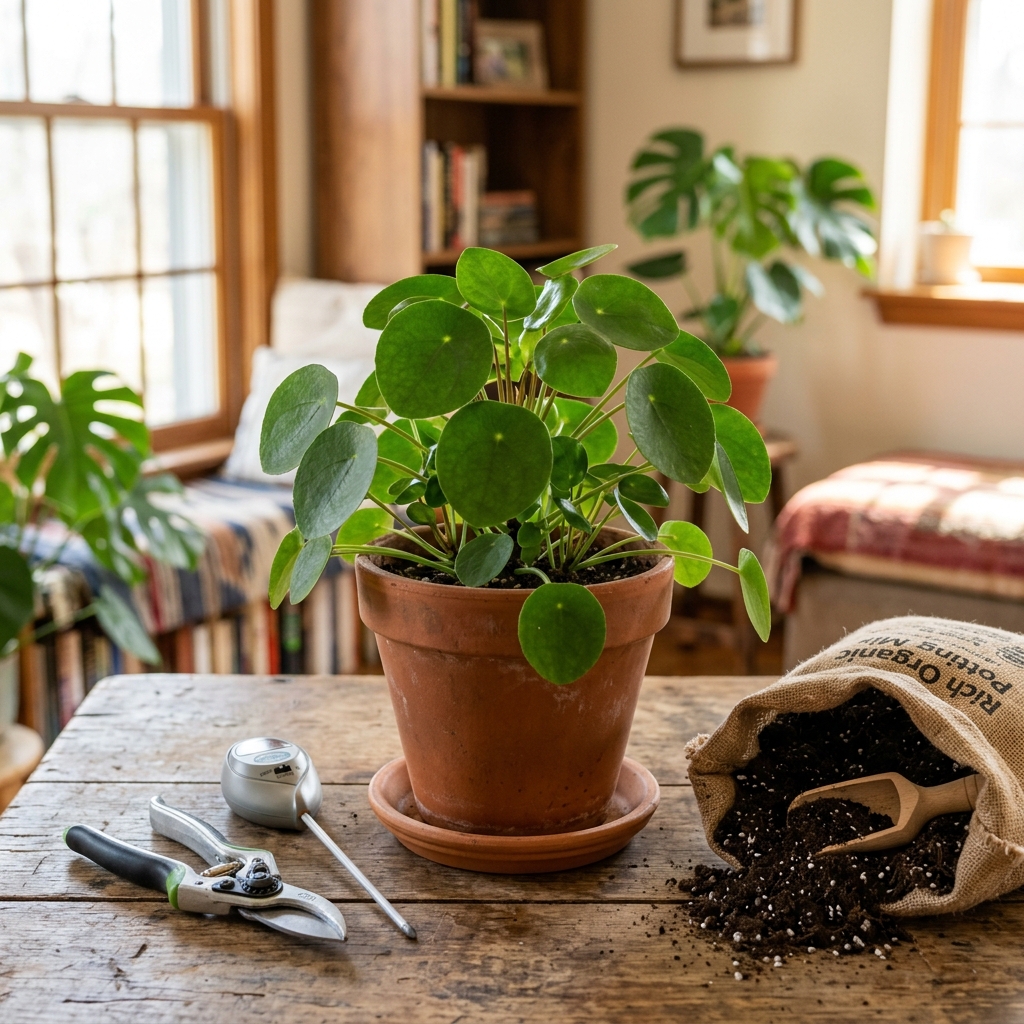
Materials You Need Before You Start
Before you begin the surgery to fix root rot, gather your supplies. Having everything ready minimizes the time your plant spends out of its pot.
You will need:
- Clean shears or scissors: Sharp tools make clean cuts, reducing trauma to the plant.
- Sterilizing agent: Isopropyl alcohol or hydrogen peroxide to wipe down your shears.
- Fresh potting mix: Discard the old, infected soil immediately. You want a high-quality, well-draining indoor plant soil.
- Perlite: Adding extra perlite to your new potting mix drastically improves drainage and airflow.
- A new terracotta pot: Terracotta breathes, pulling excess moisture out of the soil to prevent future rot. Make sure it has a drainage hole.
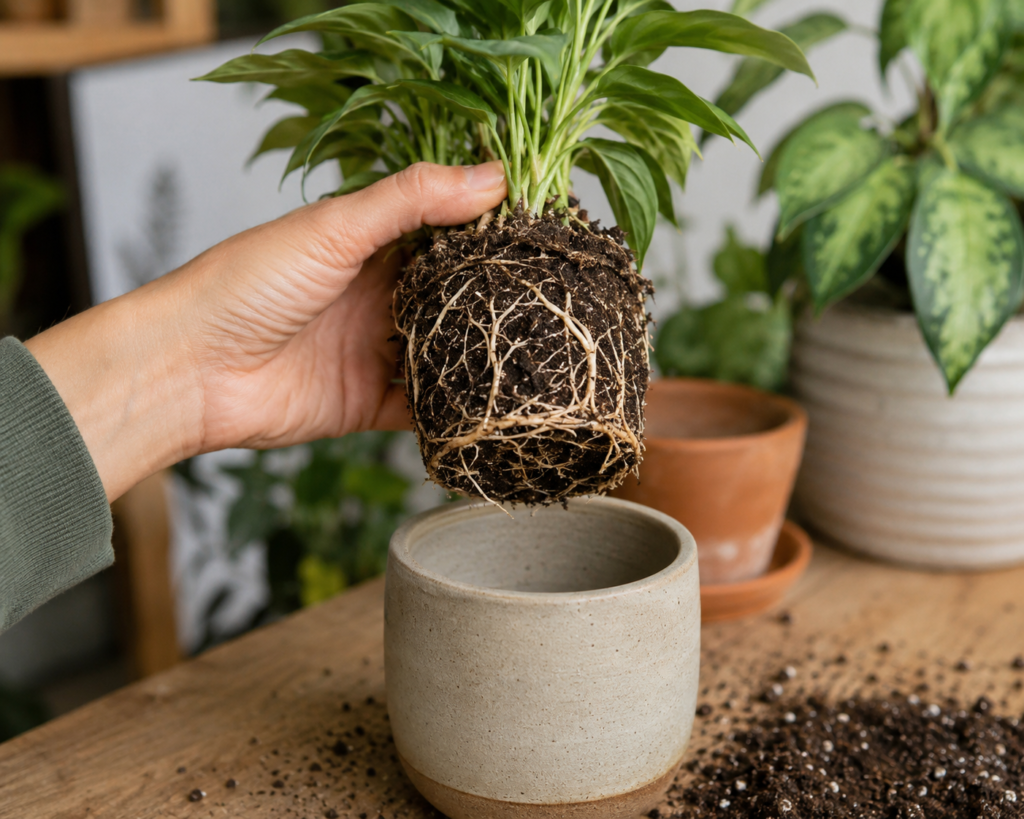
Step 1: Remove the Plant and Inspect Roots
You already completed the first part of this step during your unpot test. Now, you need to get a clearer view of the damage.
Take the unpotted plant over a trash can and gently massage the root ball to shake away as much loose soil as possible. The old soil holds the fungus that caused the rot, so you want to remove it entirely. If the soil feels clumped and sticky, run the roots under a gentle stream of room-temperature water.
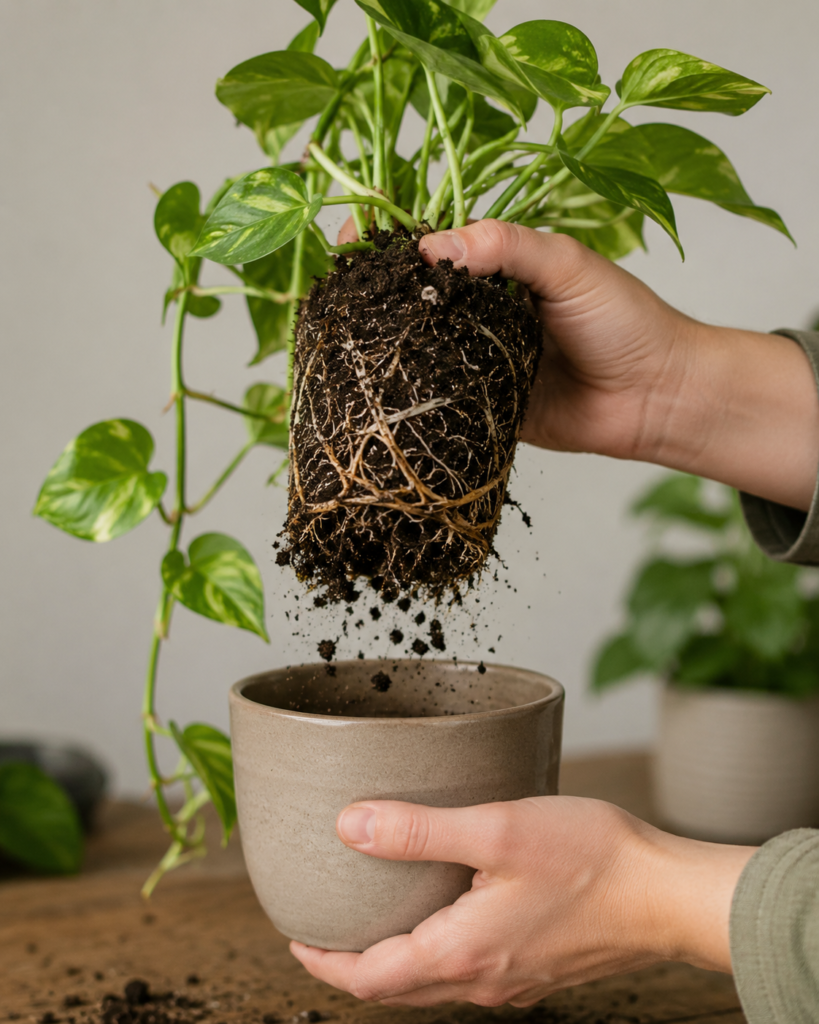
Washing the roots allows you to see exactly which parts are healthy and which parts are dead. Be incredibly gentle during this process. Healthy roots are fragile right now, and you want to keep as many of them intact as possible.
Step 2: Trim the Rotted Roots
This step feels intimidating, but it is necessary for your plant’s survival. You must cut away every single piece of rotted root. If you leave even a tiny piece of mushy root behind, the rot will spread to the fresh soil and start the process all over again.
Wipe down your clean shears with isopropyl alcohol. Carefully snip away the black, brown, and mushy roots. Cut slightly above the rot, right into the healthy tissue, to ensure you remove the entire infection.

Sterilize your shears frequently as you work. Wiping them down between cuts prevents you from accidentally transferring the fungus from a dead root to a healthy one. Do not worry if you have to cut away a large portion of the root system. Plants are resilient. As long as you leave some healthy, firm roots, the plant has a fighting chance.
If you had to remove a massive amount of the root system, you should also trim back some of the foliage. The reduced root system cannot support a massive canopy of leaves. Trimming a few older leaves helps the plant redirect its energy toward growing new roots.
Step 3: Sterilize and Repot in Fresh Mix
Never reuse the old soil. Dump it in the outdoor trash immediately. If you plan to reuse the old pot, you must scrub it thoroughly with hot water and dish soap, then soak it in a solution of one part bleach to nine parts water for ten minutes to kill any lingering fungus. However, starting with a brand-new terracotta pot is the safest option.
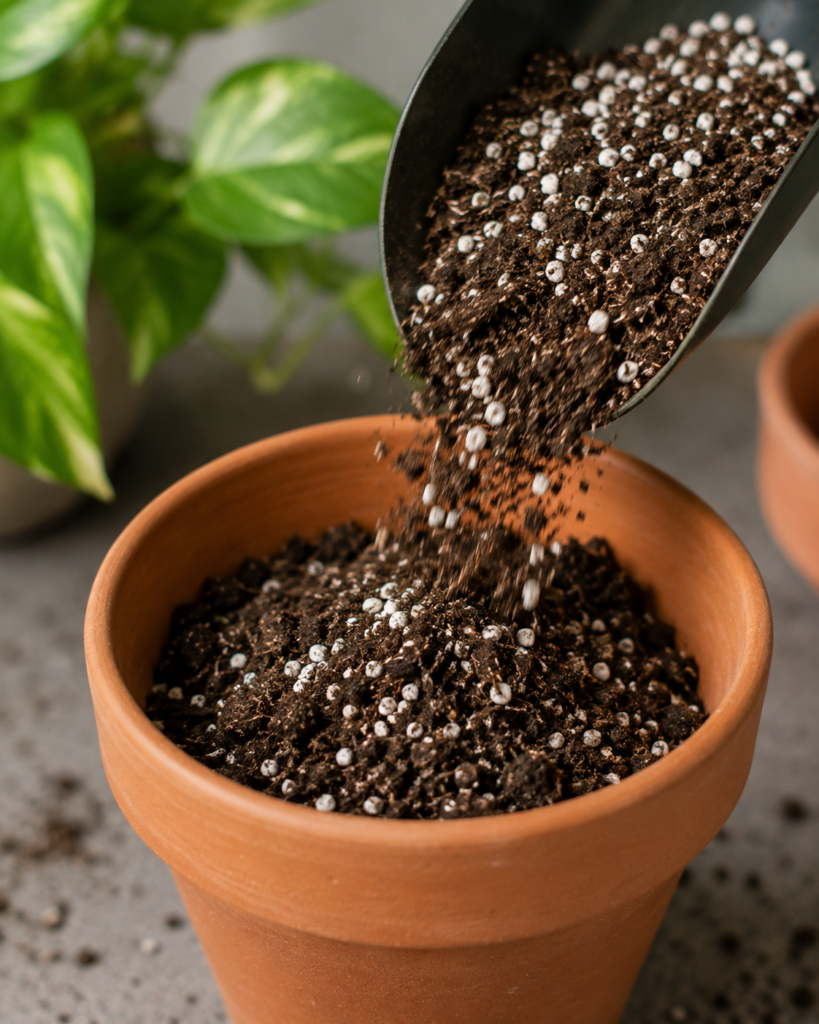
Mix your fresh potting soil with a generous handful of perlite. A good ratio is two parts soil to one part perlite. This creates tiny air pockets throughout the soil, allowing the roots to breathe and letting water drain quickly.
Fill the bottom third of your terracotta pot with the fresh mix. Hold your plant gently in the center of the pot and fill the sides with soil. Tap the sides of the pot to help the soil settle. Do not pack the soil down too tightly, as this eliminates the air pockets you just created.
Step 4: Recovery Care for the Next 4 Weeks
Your plant just went through major surgery. It needs time, patience, and a calm environment to recover.
Place your repotted plant in a spot that receives bright, indirect sunlight. Avoid direct, harsh sunlight, which will stress the weakened plant. Keep it away from drafty windows, air conditioning vents, or heating units.
Watering during recovery requires a delicate balance. You want to lightly water the fresh soil to help the roots settle, but you must avoid soaking it. Wait until the top two inches of soil feel completely dry before watering again. Do not apply any fertilizer during this recovery period. Fertilizer forces the plant to focus on growing new leaves when it really needs to focus on rebuilding its root system.
Check our guide on the best fertilizer for herbs (#15) when your plant is fully recovered and ready for feeding.
When It’s Too Late to Save It
Sometimes, despite your best efforts, a plant is beyond saving. When you perform the unpot test, you might discover that every single root is black and mushy. The base of the main stem might also feel soft and squishy. If the rot has reached the stem, the plant can no longer pull water or nutrients up into its leaves.
If you find yourself in this situation, do not throw the whole plant away just yet. Look for healthy stems and leaves near the top of the plant. You can take clean cuttings from these healthy sections and propagate them in water or fresh soil. While you lose the original plant, propagation allows you to start over with a fresh, healthy clone.
How to Prevent Root Rot Next Time
Fixing root rot is hard work. Preventing it is much easier. The best way to keep your indoor plants healthy is to understand their watering needs. Most houseplants prefer their soil to dry out slightly between waterings.
If you struggle to know when to water, invest in a reliable tool. We highly recommend grabbing the best moisture meter (#9) to take the guesswork out of plant care. You simply push the metal probe into the soil, and the dial tells you exactly how wet or dry the root zone is.
Always use pots with drainage holes. If water cannot escape the bottom of the pot, it will pool around the roots and cause rot. Make sure you empty the saucer underneath the pot about twenty minutes after watering. Never let your plant sit in a puddle of drained water.
If you tend to overwater specific plants, take a look at our guide on Snake Plant Overwatering to learn how to handle drought-tolerant species. Tailoring your watering schedule to each specific plant guarantees a healthier indoor jungle.
Conclusion
Finding root rot in your indoor plants feels discouraging, but it does not make you a bad plant parent. Overwatering is the most common mistake beginners make. Now that you know how to fix root rot, you have a powerful skill to keep your houseplants thriving.
By unpotting the plant, trimming away the mushy roots, and repotting in a fresh, well-draining mix, you give your greenery a much-needed second chance. Remember to adjust your watering habits, utilize helpful tools like a moisture meter, and pay close attention to your plant’s signals. With proper care and a little patience, your plants will bounce back stronger than ever.